How to Make Colored Clay
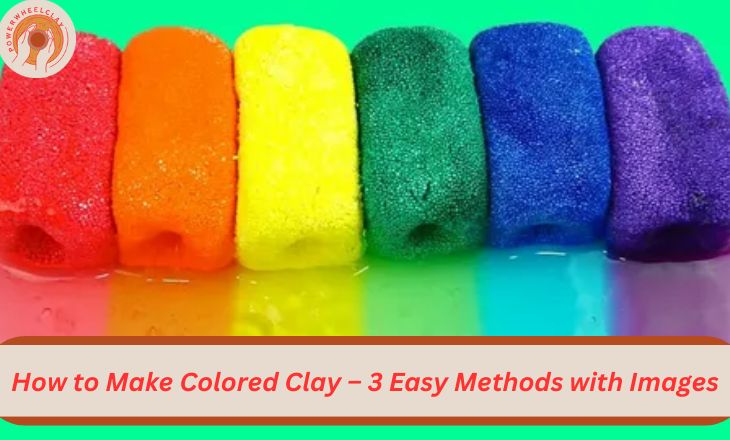
Creating your own colored clay at home is not only simple but also a creative way to add a personal touch to your crafting projects. With just a few basic ingredients, you can whip up smooth, vibrant, and customizable clay that’s perfect for molding into any shape you imagine. Whether for kids’ crafts or DIY decor, this colorful clay will spark creativity and fun!
When dying clay, it’s essential to mix in the color thoroughly to achieve an even, vibrant hue for your projects.
How to you Make Colored Clay? – The Basics
You’ll need to start with a base of regular clay, which acts as a canvas for your creative color expressions. One popular method is to mix pigment powders directly into the clay before shaping and forming it. This allows you to control the intensity and hue of the colors, creating unique and personalized results. Experimenting with different ratios of pigment to clay can lead to an array of shades and tones, adding depth and richness to your finished pieces.
How Much Stain to Add When You Make Colored Clay?
Determining how much stain to add when making coloring clay can be a delicate balancing act. Adding too little may result in a dull or muted color while adding too much can alter the clay’s texture and workability. A general rule of thumb is to start with a small amount of stain and gradually increase until you achieve the desired hue. some stains may intensify during firing, so testing your colors on a small sample piece before committing to a full project is essential.
Consider the type of clay you are using, as different clays may require varying amounts of stain to achieve the same color intensity. keep in mind that factors such as firing temperature and glazes used can also affect the final color outcome. Experimentation is key when working with colored clay, as it allows you to fine-tune your proportions and create unique shades that reflect your artistic vision. With the relationship between stain concentration and clay composition, you can unlock endless possibilities for your ceramic creations.
What Color Stain Are You Using?
As you contemplate the color stain to use, consider the significance behind each shade. The deep richness of a mahogany stain may evoke feelings of warmth and tradition, while a lighter oak stain may bring about a sense of brightness and modernity. the color stain you choose is an extension of yourself – it reflects your personality, preferences, and aspirations.
Mess and Safety
Mess and safety often go hand in hand, as clutter can create hazards in our daily lives. Whether it’s a pile of papers blocking a hallway or loose cords tangling up underfoot, messiness can pose serious risks to our well-being. Studies have shown that disorganized environments can lead to increased stress levels and decreased cognitive function.
Method 1: How to Make Colored Clay with Dry Stain
Using dry stain to color clay is a simple yet effective method that can add vibrancy to your ceramics projects. To start, gather some dry stain powder in the desired color and mix it with a small amount of water to create a paste. Knead this paste into your clay until the color is evenly distributed, adding more or less stain as needed to achieve the desired hue.

One benefit of using dry stain for coloring clay is the ability to easily mix custom colors by combining different shades of powders. This allows for endless creative possibilities and unique results in your pottery pieces. using dry stains can result in more intense and long-lasting colors compared to traditional underglazes, giving your creations a bold and striking appearance.
Calculations
The foundation of science and technology is calculations, which allow us to interpret complicated data and resolve challenging issues. Precise calculations are necessary for advancement in many domains, from calculating a rocket’s trajectory to figuring out a medication’s dosage. But many people fail to acknowledge that calculations are also highly important in daily life. We use computations to plan trips, allocate money, and measure ingredients into recipes, among other tasks where precise results are needed.
Weighing out your Clay and Stain
When it comes to pottery, one of the most crucial aspects is weighing out your clay and stain. The perfect balance between these two elements can make or break the final result of your piece. It’s essential to carefully measure the amount of clay needed for your project, ensuring you have enough to work with without any wastage. adding stain to your clay can provide unique colors and textures, enhancing the aesthetic appeal of your creation.
Mixing the Stain into Your Clay
When it comes to pottery, mixing the stain into your clay can add a whole new dimension to your creations. By incorporating stains into your clay, you have the opportunity to create intricate and vibrant designs that are truly one-of-a-kind. Transform clay with vibrant hues! Discover the art of coloring clay with oxides. Create stunning pottery with rich, unique colors. And visit this site that Matching the color of natural clay using an iron oxide mix. Experimenting with different color combinations and techniques can result in unique patterns and textures that bring a new level of depth to your pieces.
Avoiding the Crumble!
It’s easy to feel overwhelmed when faced with challenges that threaten to crumble our resolve. But remember, in the face of adversity, it’s crucial to maintain a sense of perspective. Instead of focusing on the magnitude of the problem at hand, break it down into manageable steps. By taking small, purposeful actions each day, you can prevent yourself from feeling suffocated by the weight of it all.
Adding the Stain
Adding the stain to the wood is like adding a touch of magic. It transforms the raw surface into a masterpiece, bringing out its natural beauty and enhancing the grains. The process requires patience and skill, as the choice of stain color can make all the difference. Dark stains can create a rich, elegant look, while lighter stains can give off a more modern and airy feel.
Mixing in the Stain
Mixing in the stain is a delicate and crucial step in any woodworking project. It requires precision and attention to detail to achieve the desired color and finish. One tip to keep in mind is to thoroughly stir the stain before applying it, as this will ensure an even distribution of color. experimenting with different ratios of stain and thinner can help you achieve unique shades and effects that set your project apart.
Wedging the Stain In
Imagine a world where stains are not just an eyesore, but a canvas waiting to be transformed. Wedging the stain in is an art form, a creative process that challenges our conventional view of cleanliness. Instead of hiding or removing stains, why not embrace them and make them a focal point of your design? Master the art of wedging clay with our expert tips and techniques.
Create flawless pottery with our step-by-step guide! how to wedge clay the stain in, you add personality and character to your space, turning imperfections into unique features. One way to wedge the stain in is by incorporating it into a pattern or design element.
Method 2: How to Make Colored Clay with Wet Stain
Using wet stain to color clay is a unique and versatile method that can create stunning results. By mixing wet stain directly into the clay, you can achieve vibrant colors and patterns that are beautifully integrated throughout the entire piece. This technique allows for more control over the intensity of the colors and enables you to experiment with different shades and combinations.
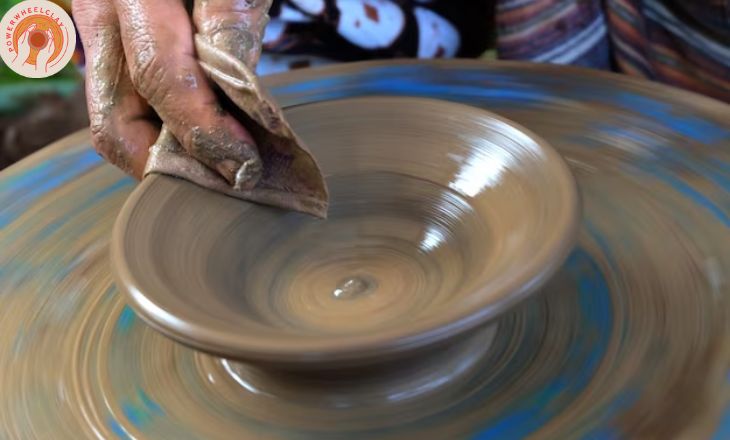
Mixing in the Stain
Mixing in the stain is an art form that requires precision and patience. The process of blending different shades to achieve the desired color can be both challenging and rewarding. It’s important to start with small amounts of stain and gradually add more to avoid overpowering the mixture. Experimentation is key in finding the perfect combination, so don’t be afraid to try out different ratios until you achieve the ideal hue.
Wedging your Clay?
Before diving into the process of wedging clay, it is important to understand its significance in pottery. Wedging clay is not just about removing air bubbles and ensuring uniform consistency; it is also a meditative practice that allows the artist to connect with the material on a deeper level. The repetitive motion of wedging can be compared to kneading bread dough, each fold and press bringing the artist closer to understanding the nature of their medium.
Letting the Clay Settle
As the potter works the clay, there comes a crucial moment when they must let it settle. It is in this stillness that transformation happens, where the raw material begins to take shape and find its purpose. Just like the clay, we too need moments of stillness to allow our inner selves to settle and align with our true desires.
Method 3: How to Make Colored Clay with Slip
Creating colored clay with slip is a versatile technique that opens up a world of artistic possibilities. Adding pigments or oxides to clay slip. You can achieve a wide range of vibrant colors and unique effects in your ceramics. Experimenting with different combinations of colorants and testing their outcomes on small samples can lead to surprising and exciting results.

Mixing the Stain into the Slip
Mixing the stain into the slip is an art form that requires precision and creativity. The stain adds depth and character to the slip, enhancing its texture and color uniquely. By combining different stains with varying consistencies, artists can create a dynamic visual effect that captures the eye.
Adding bone-dry clay to the Slip
Adding bone-dry clay to slip can revolutionize your ceramic work. The process of incorporating bone-dry clay into the slip mixture enhances the overall strength and durability of the final piece, making it more resilient to cracks and breakage. By integrating bone-dry clay, artists can create unique textures and patterns that would be difficult to achieve with standard slip alone.
Mixing Up the Colored Clay
Mixing up colored clay can be a fun and creative way to add depth and interest to your ceramic projects. Experimenting with different combinations of colors can result in unique and unexpected patterns, providing endless possibilities for artistic expression. By layering different hues of clay together or marbling them through each other, you can create intricate designs that enhance the overall aesthetic of your piece.
Wedging the Colored Clay
One exciting technique in pottery is wedging colored clay. By combining different colored clay bodies, artists can create unique and vibrant patterns in their work. This process requires precision and skill to ensure the colors blend seamlessly and create the desired effect.
Conclusion
How to make colored clay using these three easy methods is a fun and creative way to enhance your pottery projects. Whether you choose to use natural pigments, food coloring, or acrylic paint, each method offers a unique way to personalize your clay creations.
The step-by-step instructions provided in this article, along with the accompanying images, make it easy for beginners and experienced crafters alike to experiment with different colors and techniques. So why not give it a try and add a pop of color to your next clay project? Get creative and have fun exploring the endless possibilities of colored clay!
FAQs
How To Color Porcelain Clay?
To make colored clay, you need to add a stain or oxide to your clay. Stains and oxides come in powdered form.
How Do You Color Clay?
To start coloring your clay, you must first mix the stain. To do this, pour water or slip into the bottom of a Ziploc bag.
Can You Dye Clay?
Yes, you can dye clay easily by adding food coloring or paint to the mixture before kneading it for a smooth, even color.
How To Stain Clay?
To stain clay, simply mix liquid or powdered pigments into the wet clay, ensuring the color is evenly distributed before shaping or firing it.
