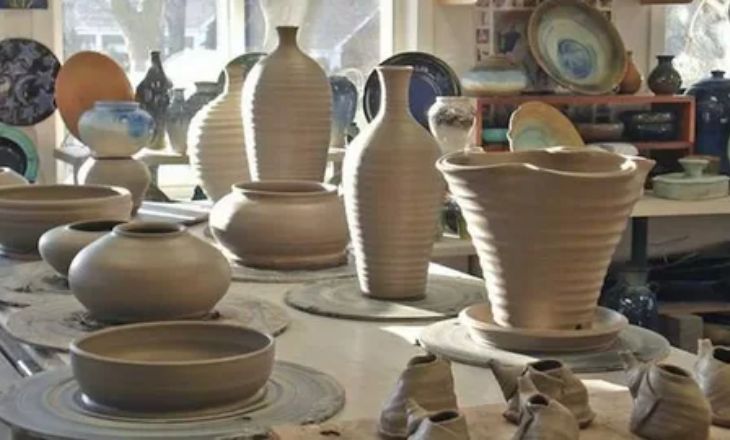
To make clay slip, start by mixing dry powdered clay with water until the consistency becomes smooth and liquid-like. Clay slip is essential in pottery making as it acts as a bonding agent, helping different pieces of clay adhere to each other seamlessly.
How To Make Clay Slip
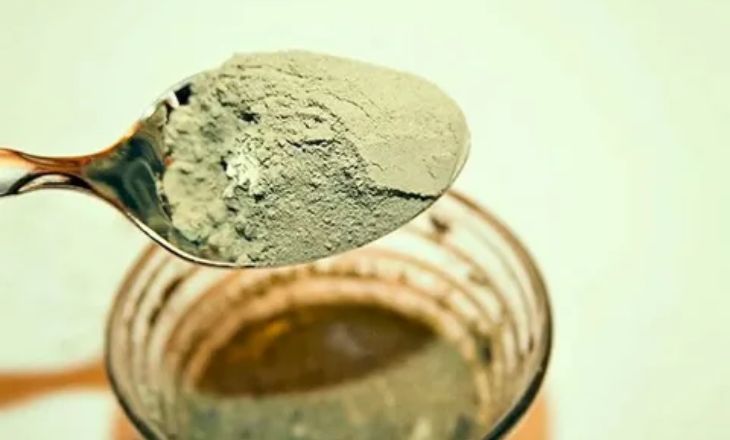
Liquid clay is called Clay Slip. We make clay slip this kind of clay slip material is just a mixture of liquid particles of clay in water. When combined, it often has the consistency of thick cream, but depending on your intended purpose, it may be a little thinner. We put a little extra clay in an old blender. Fill the clay with just enough water to cover it. Blend it the next morning after allowing it to sit. for the whole night.
How To Make Clay Slip
- Gather up your Clay Slip I begin by looking for particles collected from previous models.
- Cut the clay slabs apart. I’m going to then take my hammer and the dry slabs.
- To shower, add water to your clay.
- Mix the water and the clay.
- Keeping your slip bound (optional)
- Pottery slip storage.
What You’ll Need
- Dry Clay
- Hammer container made of dry clay with an opening that can be locked in a jar.
- Water container with Plastic paper.
1. Collect Your Clay
The first step is to collect your clay. Look for high quality. plastic clay that is smooth and free of impurities. This can be sourced from a local supplier or even dug up from. The key here is to ensure that the clay has enough plasticity to create a smooth slip with good adhesion properties.
By starting with good-quality raw materials and properly preparing them, you’ll be on your way to producing a versatile and effective product that’s ready for use in various creative endeavors.
2. Break Up The Clay Slabs
Break Up The Clay Slab needs to ensure that the pieces are small and uniform in size. This will result in a smoother consistency when mixing with water, making it easier to work with. incorporating different clays or adding colorants can lead to unique variations in the final product, adding depth and character to your creations.
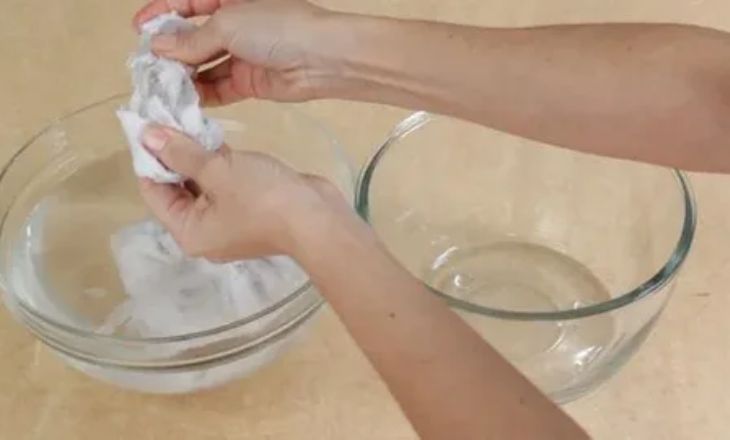
3. Add Your Clay To Water To Soak
How to Make Slip Clay is an essential part of pottery and sculpting. To begin, add your clay to water to soak. This allows the clay to absorb water and become more malleable, making it easier to work with. The ideal consistency for a clay slip is similar to that of heavy cream, not too thick or thin.
Once your clay has soaked for some time, stir it vigorously to break up any lumps and create a smooth, creamy texture. If you want colored slip, now is the time to add pigments or oxides which will bring life and depth to your creation. Remember that the quality of your slip and wedge clay directly impacts the finished product, making this step crucial in achieving a successful piece of pottery.
4. Blend The Clay And The Water
Making clay slip is a simple yet essential part of many pottery and ceramics projects. To start, gather your clay and water in the proper proportions. The key to creating a smooth and workable clay slip is to blend the two ingredients thoroughly, ensuring that there are no lumps in the mixture.
Once the clay and water are properly combined, you can experiment with different consistencies by adding more or less water until you achieve the desired texture. Pay attention to the quality of your materials as well – using high-quality clay and clean, pure water will result in a superior clay slip that enhances your final artwork.
5. Straining Your Slip (Optional)
The process of straining your slip is a crucial step that often gets overlooked. Straining your slip ensures a smooth and consistent texture, resulting in better adhesion and reduced cracking in your clay work.
One way to do this is by using a fine mesh sieve or cheesecloth to remove any impurities or lumps from the mixture. This not only enhances the workability of the slip but also prevents potential clogging in spray bottles.
By paying attention to the straining process, ceramic artists can elevate their pottery game by achieving consistently smooth and workable clay slips for their creations.
6. Storing Potters Sip
Storing potters’ slips is crucial for maintaining their quality and usability over time. After preparing the clay slip to your preferred consistency, store it in sealed containers to prevent evaporation and maintain its fluidity. Labeling each container with the date of preparation and type of clay used is also beneficial to ensure proper organization in your 5 Methods for Painting Pottery.
Potters Tip: One valuable tip is to spray your slip every time you put it away. This simple practice helps prevent the slip from drying out or becoming too thick, ensuring that it remains workable and easy to use when you need it.
Conclusion
I hope you learn that mastering the art of making Clay Slip opens up endless possibilities for ceramic artists. This versatile material can join pieces together, repair cracks, and add decorative elements to pottery.
Making clay slips is a simple yet essential process in ceramics that can greatly enhance the quality of your projects. By following the steps outlined in this article, you can create a smooth and workable slip that will help you achieve the desired results in your pottery.
FAQs
How To Make Slip For Clay?
You need to combine the types of clay and water until the mixture has a creamy, silky quality to make the clay slip. The clay should first be divided into little pieces and put in a container.
How Is Slip Made?
slip develops by combining clay with water to get a smooth, liquid consistency. On the required slip application and thickness, different clay-to-water ratios might be used. To enhance any slip’s attributes, some clay workers may add extra elements like colors.