The coiling method of hand-building preceded the pottery wheel for several centuries and has been used for ages. Coiling Pottery, which exhibits both artistic creativity and technical expertise, has held a distinctive place in the world of ceramics from ancient civilizations to modern artisans.
We will examine the rich history, many uses, and ongoing attraction of coiling ceramics in contemporary art as we are going to explore this interesting world. In the peaceful workplace, skilled artisans carefully engage in the delicate art of coiling ceramics, shaping earthy wonders that will soon decorate homes with classic pottery.
What is Coiling Pottery?
The method of forming a base, walls, and style by combining clay coils allows for incredible creativity and artistic expression. As the potter rolls the clay into coils and stacks them together, the vessel starts to take shape, with each coil adding depth and character to the final piece. Potter joins coils through pressure to create a seamless vessel.
One interesting aspect of coil pots is their versatility in size and shape. Pinch pots tend to be smaller due to their construction method and slab pots require careful planning for larger forms but coil pots can easily be scaled up or down without sacrificing structural integrity or aesthetics.
Using the ancient technique of coil ceramics, the potter skillfully joins clay strands, giving rise to a unique vessel that captures the essence of both tradition and creativity in the world of pottery.
How Old Are Coil Pots? (A Brief History)
The creation of coiled pots during the Jomon period marked a pivotal moment in human history, representing a significant advancement in ceramic technology. Coil pottery, which is frequently overlooked by the more well-known wheel-throwing technique, shows the inventiveness and ability of early artists.
Evidence of coil pots can be found in North America, Asia, Africa, and Greece earlier than potter wheels were widely used in these regions. This suggests that the coil approach was not only widely used but also quite flexible, fitting in with a wide range of cultures and settings.
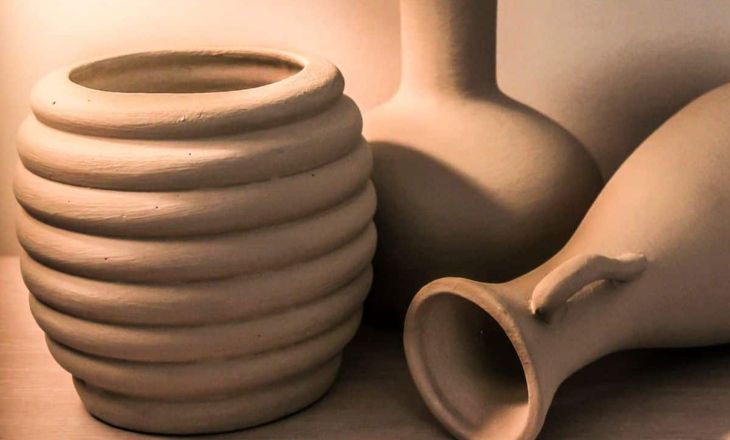
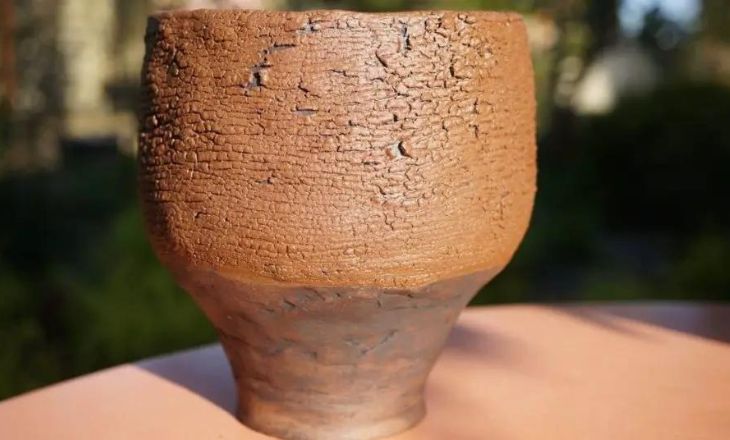
Cool Coil Pot Example
The potter has coiled long, slender ropes of clay to build the walls of the vessel, ensuring a smooth and even distribution of coils. The coils are masterfully blended together, creating a seamless surface that speaks to the potter’s expertise in hand-building.
How To Make Coiled Pots
A careful balancing act between creativity and technique is needed to create complicated coil building ceramics, that produce beautiful and unique artistic works. The coil method ceramics technique develops as artists expertly produce and layer clay coils, crafting vessels that bear the unmistakable touch of constructed perfection and artistic creativity.
What You Need To Get Started
- Clay
- Spray bottle
- Clay knife
- Modeling tool
- Scoring tool
- Large canvas board (optional)
Picking Out Your Clay
Earthenware and Stoneware clay are definitely the best options when choosing a clay for an upcoming potter. Because of its reputation for strength and adaptability, Stoneware clay can be used to create both attractive and practical objects. Earthenware Clay is more flexible and less difficult to work with, which makes it a great choice for beginners in the pottery world.
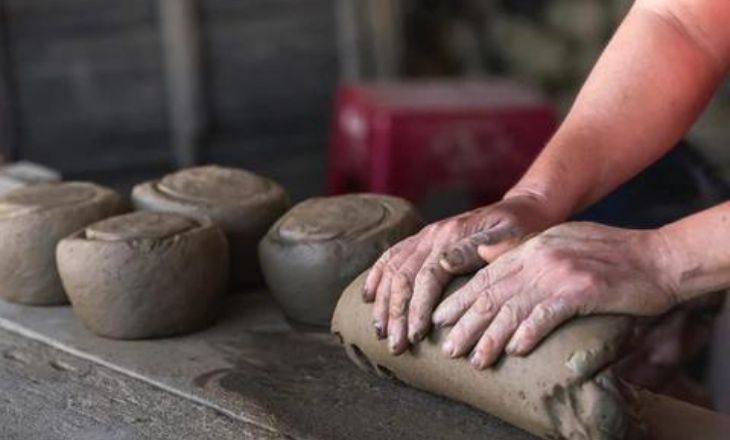
Because they are more forgiving than other clay varieties, including porcelain and terracotta, Earthenware and Stoneware Clay are particularly good choices for beginners.
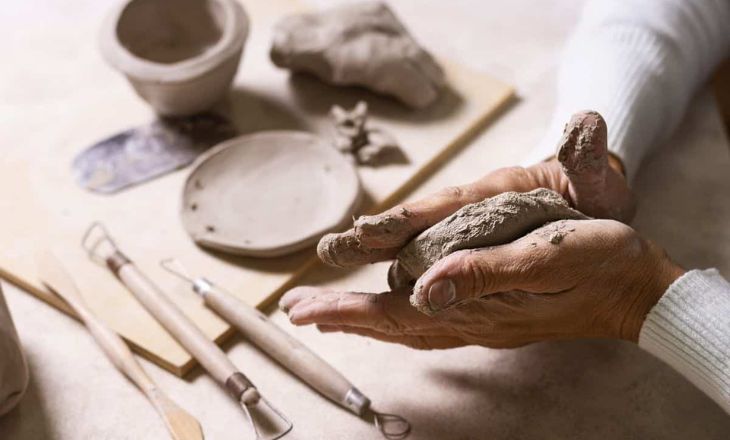
Making Coils
The art of coil-making is a centuries-old technique that has been used in various crafts, from pottery to jewelry making.
Preparing The Surface
Using a canvas board is innovative for prepping the surface for working with clay. This basic but necessary tool acts as a barrier to keep the clay from sticking to any surface it is placed on. This not only makes it easier to remove the finished clay slab, but it also keeps any crumbs or other undesired stuff from sticking to the priceless material.
You pick up a water-filled spray bottle and lightly sprinkle the clay’s surface. The shiny water adds precisely the correct quantity of moisture to your work to make it more beautiful without sacrificing its integrity. If you use too much water, it will become a muddy mess, and if you use too little, it will crumble and break.
Rolling Coils
The first step in creating a genuinely unique piece is breaking the clay into small pieces and carefully putting them on a surface. A sense of rhythm and flow begins to emerge as you start rolling the clay in the direction of and away from you with your index finger.
Using this method, you may stretch out the clay to make long, even coils by making sure your fingers are spread wide. Rolling the clay with your second-hand helps to further refine its shape until it takes on the ideal form.

Now that coils have been cut to the correct length, it’s time to mold a lump of clay again into the shape of a coil. As you roll, you may adjust the pressure to create coils with natural imperfections that give your pottery personality and individuality.
To give visual excitement and complexity to your pottery creations, think about bringing together coils in varying diameters. In your work, you can construct dynamic structures and complicated patterns by varying the coils’ length and thickness.
What If One Side Gets Flat While I’m Rolling It Out?
You may run into a flat side every now and then when you’re passionately rolling out your clay. Fear not—even the most experienced artists experience it. Take advantage of this chance to add some originality to your work. Rather than viewing it as a failure, think about twisting the clay to produce a lovely spiral design.
What Size Should My Coil Be?
There are numerous considerations to make while selecting the appropriate size for your coil. For those seeking a more understated, smaller choice, the diameter of a cent can serve as a great starting point. This size is convenient and portable, making it a fantastic option for vaping while on the go.
But if you want longer-lasting sessions and more strength, think about going up to the size of a nickel. More airflow and improved heat distribution are made possible by the bigger diameter, providing a more satisfying vaping experience. You can also use the width of the nail on your pinky finger as a guide to choose the right coil size.
Making A Base
You may feel a wave of satisfaction when you use one of the clay coils to reach the bottom of the pot; you are creating a solid and dependable foundation for your masterpiece. Making use of a modeling tool can help ensure a smooth surface and eliminate any defects.
Blending produces a smooth transition from one coil to the next, strengthening the pot’s structural integrity while also improving its aesthetic appeal. It almost feels like you’re giving your creation life, adding your own originality and flair as you carefully combine and shape the clay.
Building The Walls
With your base created, it’s time to start building the walls of your vessel.
Cutting The Coil
It’s essential to cut the coil to cover the base’s edge for a smooth, polished appearance. It shows accuracy and attention to ensure a neat and skilled appearance. It is crucial to use the appropriate cutting tool for this activity in order to precisely trim and shape the clay coil so that it fits properly around the edge.
Before making any cuts, think about marking the location where each end of the coil should meet while measuring the base’s perimeter. Using this method makes it easier to see how the coil will cover the edge smoothly and serves as a guide for accurate cutting.
Slip And Score To Join The Base And The Coil
Slip is a basic technique in ceramics that is more than just a glue replacement. Slip is a flexible material with adhesive characteristics that is used to bind parts of ceramic items together when clay and water are combined to create it.
Scoring is like leaving your imprint on a complicated puzzle while working with clay; it creates the framework so that the components fit together perfectly.
Adding Coils To Add Height To The Walls
The foundation for a neat and accurate cut is established when you score two edges and gradually add slip to them. To get a beautifully integrated connection, the key is to press the two ends together gently. Using a modeling tool to accomplish this can make all the difference as it allows for careful mixing and guarantees an excellent final output.
Once you have scored the top side of the coil that’s attached to the base, it’s crucial to ensure that the bottom side of the new coil is also properly scored before joining them together. This process not only strengthens the bond between the coils but also creates a seamless connection for a sturdy vessel. By slipping and scoring both sides, you are essentially creating a fusion that will withstand the pressures of shaping and firing.
When working on a coil project, it’s crucial to ensure that each joint is positioned in a different location than the last one to create structural stability and aesthetic appeal. By varying the placement of joints, you’ll prevent weak points and visually enhance the overall look of your coil creation. Blending one of the joint sides with a modeling tool can seamlessly integrate the coils, resulting in a smooth and polished surface.
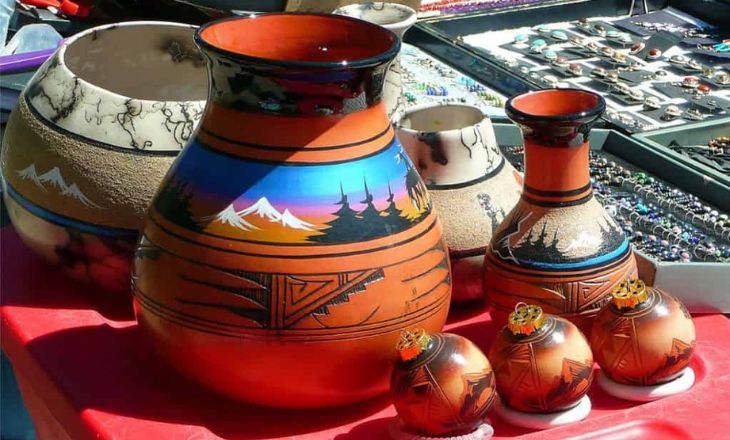
Easy Coil Pot Ideas
Now that you know how to make coil pots, here are some ideas for you to try:
Coiled Pottery Vase
A vase is a pretty straightforward project for the coil method.
Clay Coiling Pottery Planter
The planter looks like a good project for a beginner to do. For an outdoor ceramic item, faults can make for interesting highlights.
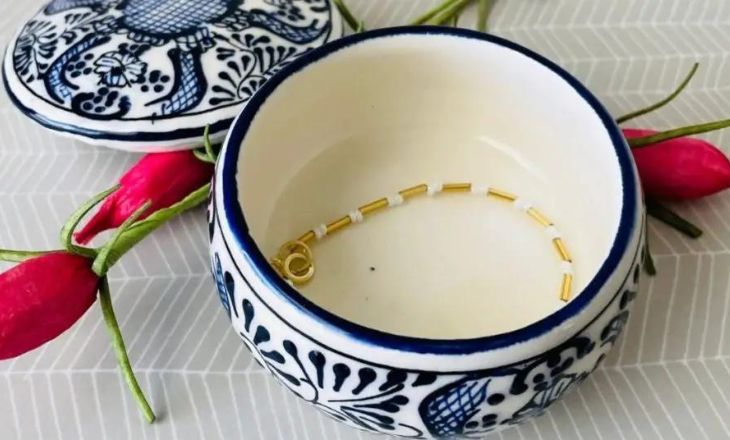
Coil-Made Jewelry Box
I like a jewelry box if you want a smaller project to take on. There’s less material, so it should be easier to manage (as long as you don’t get too fancy).
Conclusion
The hand-building technique of Coiling Pottery offers a unique and versatile approach to creating pottery. The coiling process allows for the construction of various shapes and sizes, making it suitable for both functional and decorative pieces.
This process involves skillfully shaping and stacking coils of clay, Artists begin by rolling it out with a consistent thickness, carefully layering and joining them to form the desired piece. The technique extends its applications to functional pottery items like bowls, mugs, and plates.
FAQs
How Do You Make Coil Pottery?
To create coil pottery, start by rolling out even coils of clay and layering them atop one another, smoothing the joins with your fingers or a tool. Build up the desired shape, maintaining uniform thickness for structural integrity. Once the form is complete, refine the surface and allow it to dry before firing in a kiln.
What Are The Advantages Of Coiling Pottery?
Coiling in pottery offers several advantages, including the ability to create large and structurally sound forms without the need for a potter’s wheel. It permits greater control over thickness and texture, resulting in diverse and visually appealing ceramic pieces.
Is Coiling A Technique In Pottery?
Yes, coiling is a fundamental technique in pottery where clay is rolled into coils and then stacked or layered to build a three-dimensional form.