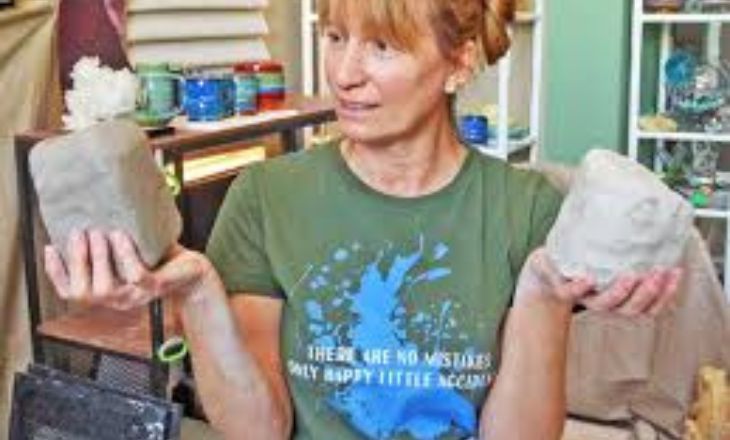
Colored Clay opens up a world of possibilities for artists looking to infuse vibrancy and personality into their creations. From vibrant blues reminiscent of the ocean’s depths to fiery reds symbolizing passion and energy, colored clay allows artisans to bring their visions to life in stunning hues.
If you’re a seasoned potter or just dipping your toes into the world of ceramics, mastering the craft of coloring clay is sure to elevate your work to new heights. Grab your apron and get ready to explore the colorful realm of pottery-making like never before!
Supplies Needed for Colored Clay
A firm curved rib is an essential tool for achieving smooth and even surfaces when working with colored clay. Its curved shape allows for precise control and manipulation of the clay body. This tool is particularly useful for creating intricate designs and textures, enhancing the overall aesthetic of your final piece.
Investing in high-quality brushes specifically designed for use with pottery can make a significant difference in the application of colored clays. The right brush can help you achieve finer details and smoother finishes on your creations, elevating the overall quality of your work.
Choosing Your Clay Body
When choosing a clay body for your pottery projects, it’s essential to consider the firing temperatures required. Different types of clay bodies are suited for specific temperature ranges. For medium firing temperatures like cones 5 and 6, a reliable option is the Amaco 38 Stoneware Clay, known for its versatility and durability.
If you prefer firing at low temperatures such as cones 06 and 04, opting for a clay body like Amaco Low Fire 25 White Clay Multi-Purpose can ensure successful results. This clay body offers excellent workability and is ideal for creating intricate designs with light colors.
Choosing Your Colorant
When selecting a colorant for your clay projects, the choice between Mason Stains and Oxides can greatly impact the outcome of your pieces. Mason Stains offer a consistent and vibrant coloration that stays true throughout firing, making them ideal for achieving precise shades in ceramics.
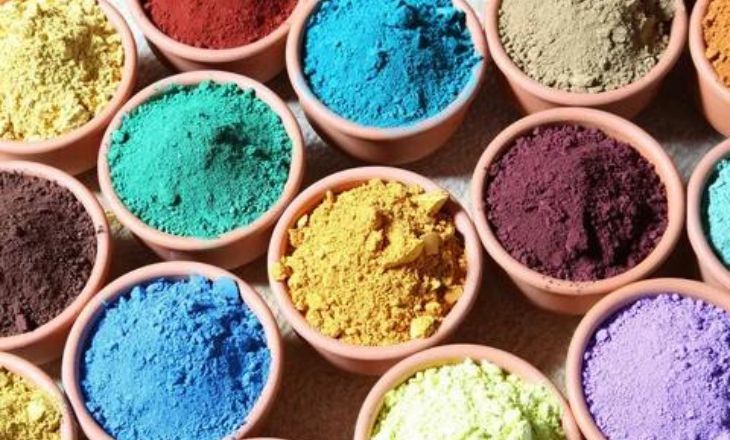
Oxides are commonly used in glazes due to their unpredictable nature when fired, providing a more organic and varied effect on clay surfaces. While they may be less reliable in terms of color stability, Oxides can lend an earthy and natural feel to your creations that add depth and character.
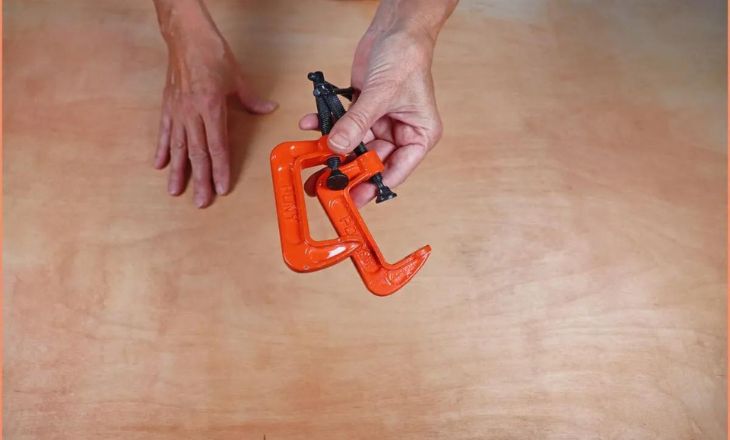
Setting Up Your Area to make colored clay
A designated mixing area is essential for keeping your workspace clean and organized. Using a separate board not only prevents staining your regular wedging surface but also provides a smooth and controlled space to work on. A 2-foot by 2-foot smooth wood surface, such as plywood, is an ideal choice for this purpose. Securing the board with C-clamps ensures stability during the wedging process.
Measuring Clay and Mason Stains
Measuring your clay and mason stains with precision can be the difference between an ordinary project and a masterpiece. Meticulous measurements ensure a consistent outcome every time. It’s like following a recipe – too much of one ingredient can throw off the entire dish, and the same goes for mixing clay and stains.
One helpful tip is to use digital scales for accuracy when measuring out your materials. This not only allows you to follow the recipe exactly but also gives you the flexibility to adjust quantities if needed. Keeping detailed records of your measurements will help you replicate successful colors in future projects with ease.
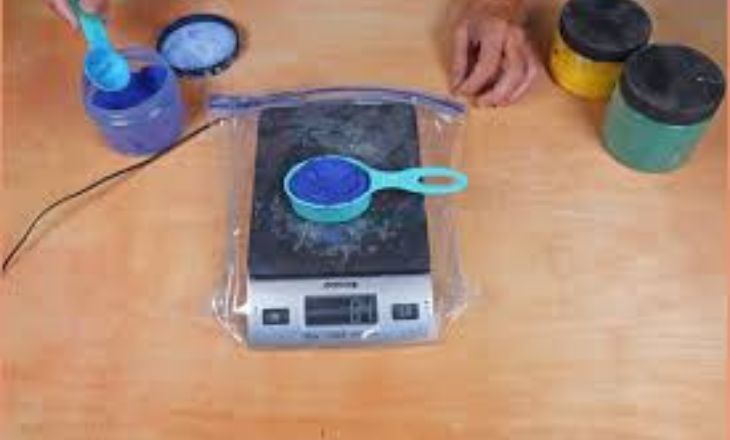
Measuring Clay to mix with Mason Stain
When blending mason stains into soft white clay, precision is key. Using a digital scale enables you to measure out the exact amount of clay required, ensuring consistent results with each batch. This method not only streamlines the process but also eliminates guesswork, leading to more precise and vibrant color outcomes in your ceramics.
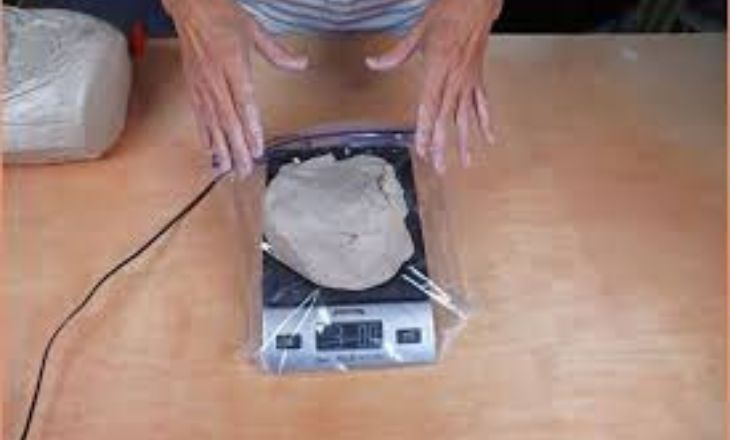
Weighing out three pounds of clay at a time strikes a balance between efficiency and manageability. Working with smaller quantities allows for thorough mixing of the mason stain without overwhelming yourself with an excessive amount of material.
Measuring Mason Stain to mix with Clay
Once you have carefully measured out the mason stain using a digital scale, it’s important to ensure proper ventilation and wear a dust mask respirator for safety. Mixing mason stain with clay can be both an art and a science, as the desired color outcome is subjective and depends on personal preference.
Experimenting with different amounts of mason stain allows for creativity and customization in your pottery creations. You prefer vibrant hues or subtle tones, adjusting the amount of mason stain added to your clay offers endless possibilities for artistic expression.
Preparing the Clay body to mix with Mason Stains
Once you have your clay slab prepared and indented, it’s time to carefully incorporate the mason stains. Sprinkle the mason stain into the wet indentation gradually, mixing as you go. Do this process slowly and patiently, allowing the color to blend evenly without clumping or streaks.
When you mix in the mason stain, observe how the color transforms and intensifies within the clay body. This step requires attention to detail and a gentle hand to achieve the desired hue and saturation level. Take your time and enjoy the process of bringing life and vibrancy to your clay creations through the masterful blending of colors with finesse.
Adding the Mason Stains to the Clay body
A method of adding Mason stains to your clay body is by sprinkling the powder directly onto the clay surface. This approach allows for better control over the distribution of color and creates unique patterns and effects when mixed into the clay. Ensure thorough mixing to achieve a consistent color throughout the clay body.
Add Dry Mason Stain
Add dry Mason stain sprinkle provides a creative way to enhance your clay projects. By sprinkling the measured stain on wet clay, you can achieve dynamic and vivid colors to make your creations stand out. Using a Mister spray bottle offers a controlled method of wetting the stain, ensuring that just the right amount of water is applied without oversaturating the area.
The process of adding a dry Mason stain sprinkle adds an element of surprise and spontaneity to your pottery designs. By allowing the stain to absorb water gradually, you can control how intense or subtle you want the colors to appear on your clay project.
Mixing the Water and Mason Stain first
Once you’ve successfully mixed the water and Mason stain to the ideal viscosity, pour the liquid onto your wet clay strategically in the center. This technique allows for a more controlled application of color, preventing any uneven distribution or clumping that can compromise the integrity of your artwork.
Mixing the Clay with a Colored Clay Slip.
The process involves blending the bone-dry clay with water before incorporating the stain, ensuring an even distribution of color throughout the mixture. However, one challenge that may arise is replicating specific color shades due to the difficulty in accurately measuring the clay-to-colorant ratio without a slip recipe.
The use of colored clay slip introduces an element of spontaneity and creativity into the pottery-making process. As you pour the vibrant slip onto wet clay, it creates stunning swirls and patterns that enhance the visual appeal of your artwork.
Rolling Up the Clay
Rolling up the clay with the stain can be a delicate yet satisfying process. The act of sealing the sides and neatly enclosing the stain inside the clay roll requires precision and attention to detail. It’s like creating a hidden treasure, waiting to be revealed through the final firing process.
This method not only adds an element of surprise to your pottery but also ensures that the stain is evenly distributed throughout the clay. By taking your time in rolling and sealing the edges, you are guaranteeing a more consistent and professional finish to your piece.
The art of rolling up clay with stain combines both technique and creativity, allowing you to experiment with different ways of incorporating color into your pottery. Embrace this step as a chance to let your imagination run wild while also honing your skills as a ceramic artist.
Mixing the Clay and Stain Together
The process of mixing clay and stain requires patience and attention to detail. By wedging slowly, you allow the colorant to blend evenly with the clay, creating a vibrant and consistent hue. It’s important to watch for any splits in the clay and seal them promptly to prevent colorant from escaping.
Moving the clay to a dry spot on your working surface and using a metal scraper can help minimize mess and ensure thorough mixing. The spiral wedge method is particularly effective in blending different clay colors quickly and efficiently, providing an opportunity for experimentation and unique color combinations.
Conclusion
Creating colored clay is an easy and enjoyable way to infuse your pottery projects with personality. By following a few simple steps and measuring your ingredients properly, you can achieve consistent and vibrant colors every time. It’s essential to prioritize safety by using a Dust Mask Respirator when working with mason stains in powder form to avoid potential health risks. With your colored clay at the ready, the creative possibilities are limitless, whether you’re crafting mugs or decorative vases.
FAQ’s
What are Mason Stains used for?
Mason Stains are used to colorize ceramics, pottery, and glass with vibrant and durable colors.
Are Mason Stains safe to use on foodware?
Yes, Mason Stains are safe to use on foodware when properly fired according to the manufacturer’s instructions.