Slab Pottery: A Handbuilding Technique
What is a Slab in Ceramics?
Slab pottery is a technique where flat sheets of clay, or slabs, are used to create ceramic forms. Using this method, buildings of various sizes and complexity can be built. Artists often use templates or molds to cut the material into the appropriate shapes before putting the slabs into their final form.
Slab building creates sleek, angular designs that are not achievable with other techniques. Crafted from clay rolled into flat sheets, ceramic slabs form the basis for a wide array of pottery techniques, from hand-building intricate sculptures to constructing functional vessels. By arranging and joining slabs together, artists can put complex details and depth into their pieces.
A Brief History of Slab Pottery
Discovering the origins of slab construction takes us back in time to more than 18,000 years ago. This kind of building has its origins in Eastern Russia, where communities found a fascinating way to combine skilled crafts with architecture.
While the pinch method provided control over the pot’s thickness and produced useful artwork that could withstand the test of time, coil pottery was thought to provide stability. These ancient artifacts are more than just museum exhibits; they provide important historical lessons by illustrating the cultural developments that arose throughout various historical periods on this highly creative slab that we name Earth.
Some Cool Artists to Check Out
Two names stand out in the creative world of ceramics: Ray Bub and John Mason. Mason stands out among other abstract geometric artists. This American artist will captivate you with his breathtaking use of color and form. He has an amazing ability to convert geometry and symmetry into ceramic forms.
At the opposite end of the ceramics range is Ray Bub, who is well-known for his beautifully crafted porcelain “tube teapots.” His works are brought to life by a complex system of tubes and funnels that each have a specific function and combine to create an amazing visual puzzle. Learning about his works involves both appreciating the artistic genius and investigating the usefulness of art.
John Mason
John Mason was an influential American ceramic artist renowned for his pioneering work in abstract ceramic sculpture. His sculptures often feature geometric shapes, textured surfaces, and vibrant glazes, reflecting his interest in the interplay of light and space. Throughout his career, Mason exhibited widely and received numerous accolades, solidifying his legacy as a pioneering figure in contemporary ceramic art.

Ray Bub
Ray Bub was a celebrated American ceramic artist known for his innovative contributions to the field of pottery. He was particularly admired for his mastery of crystalline glazes, which he developed and refined over decades of experimentation. Bub’s pieces are prized for their intricate patterns and luminous surfaces, evoking a sense of wonder and beauty.

Making Your Own Slab Built Project
Design sketching: Creating a design sketch is the thrilling first step in creating a slab-built pottery product. This allows you to fully prepare and experiment before working with clay, giving you the chance to realize your creative vision on paper.
Wedging: For a slab to be constructed successfully, wedging makes sure that the clay is consistent and free of air bubbles.
Slab Rolling: With a rolling pin or slab roller, roll out a significant, uniform slab of clay.
Slab-cutting calls for accuracy and thoughtful preparation. To guarantee a flawless fit between the slabs during construction, precise measurement and cutting are essential.
Refining: To achieve a smooth texture and get rid of any impurities, the clay must be refined.
Kiln firing your project: Kiln firing is an important step in turning the flexible slab into a solid, attractive work of art or useful product. Knowing the fundamentals of kiln burning is crucial to getting the right kind of ceramics, be it low-fire, mid-range, or high-fire.
Tools You’ll Need
- Clay
- Large canvas board
- Slab roller
- Spray bottle
- Scoring tool
Having the proper equipment can make a huge difference in your creative process when you start working with clay. Working with clay on a wide canvas board gives you plenty of room to express your artistic vision on a grand scale. Slab rollers are a great tool for applying even, smooth clay slabs that will give your pieces a polished appearance.
A spray bottle is necessary to keep your clay at the proper moisture content so that it stays workable and flexible. To securely link clay pieces and give your artwork a structural framework, you’ll need a scoring tool.
Sketching Your Design
A crucial stage in the creative process is sketching your design, which enables you to investigate your concepts and express your vision graphically. Putting pen to paper allows you to easily experiment and swiftly bring your concepts to life. By capturing the core of your design through sketching, you may avoid losing yourself in minute details and free up your imagination to explore and come up with new ideas.
Wedging: Preparing The Clay
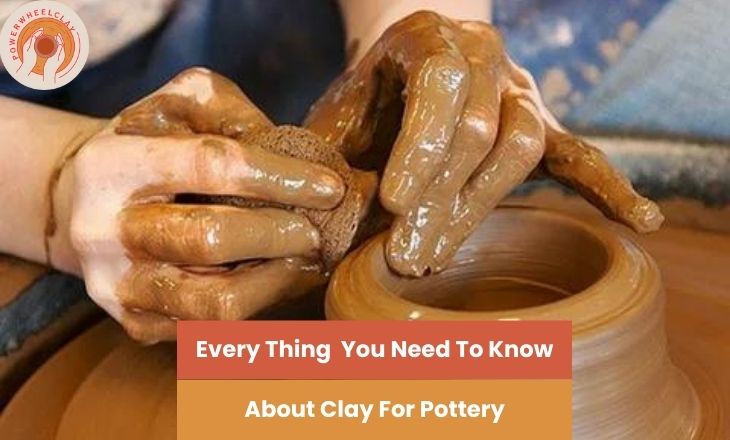
Wedging is a talent that demands accuracy to provide consistency and strength in the material; it goes beyond just mixing the clay. Wedging is the process of pressing, bending, and twisting clay to create a smooth texture that is necessary for molding and shaping. This ensures that moisture and particles are distributed evenly throughout the clay.
- Start the clay in a ball
- With the heel of your hand, push down in the center away from your body
- Grab clay from the side furthest away from your body.
- Then “roll” it toward you by picking it up from the edge furthest from you and flipping the clay
- Repeat for several rounds
Slab Rolling
The next stage is to begin making the slabs after you have ready your clay. You must be patient and precise as you work the clay into the shape of a cylinder or cube. For the best results, you must pay close attention to the size and consistency of your slabs. For each component, think about utilizing tools like slab rollers or rolling pins to get an equal thickness.
Imagine what these simple forms could become as you mold the clay into them. You may create a variety of ceramic forms, including bowls, plates, and even artwork, from these slabs. As your hands continue to work, notice how varied pressures produce minor variations that give your artwork more depth and personality. Every movement creates an impression on the clay’s surface that tells a unique tale.
A distinct rhythm starts to form as you turn the clay over and continue slowly compressing it with your palm on top. The table slab roller offers a hassle-free method of rolling out clay slabs of uniform thickness with little effort, a level surface, and fine control options. Once your clay product is finished, the next step is essential to maintaining its quality. It is important to store and cover the slab in plastic to stop air from changing the composition of the clay.
Cutting Slabs, Stages of Clay, And Assemblage
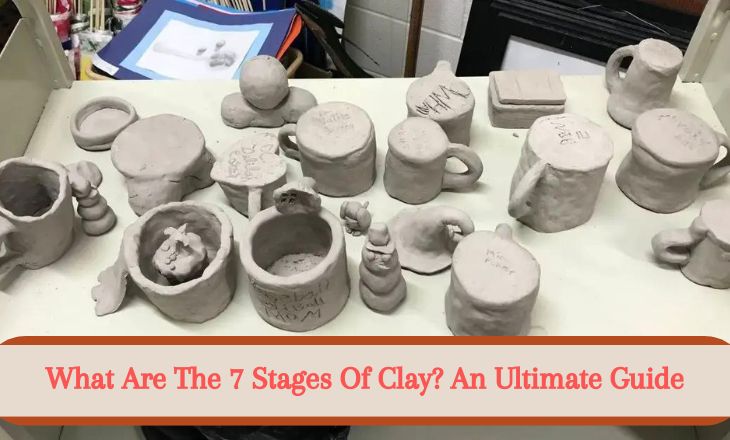
Cutting a slab is a precise and careful process. It almost seems symbolic to prop and share slabs, as though each one is being brought to its rightful place inside the massive construction. An important step in the modeling or pottery process is facilitated by exposing the slab to air until it hardens like leather. This stage makes controlled drying possible, reducing the likelihood of warping and breaking while maintaining the integrity of any fine features or textures.
Maintaining the proper moisture levels when working with clay requires covering your artwork with plastic. Achieving the ideal equilibrium between airflow and coverage can help you keep your clay product from drying out or retaining too much moisture. Our artistic efforts gain accuracy when we use a spray bottle to lightly mist regions where the clay’s color is changing. It helps to preserve color constancy and demonstrates the careful attention to detail that goes into working with clay.
Refining
This is the chance to strengthen the entire group by fixing any flaws and making the required corrections. This step enables a notable increase in overall quality, whether it is through adding more design elements to improve the aesthetic appeal or hardening the structural integrity.
Kiln Firing Your Project
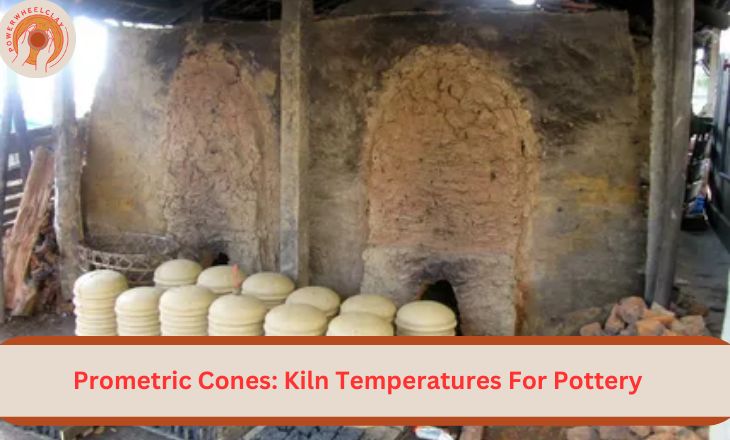
Just picture the incredible transition that takes place in a kiln as temperatures rise to a burning 2000 degrees Fahrenheit in just 8 hours. The fine balance between creativity and science in ceramics is highlighted by the precision needed to manage such severe temperatures.
The next twelve-hour cooling phase is just as amazing, with the warmth that remains helping the project complete its transformation.
Slab Pottery Ideas For Beginners
Exploring slab ceramic ideas, you can fashion anything from intricately textured wall hangings to functional tableware, showcasing the versatility and creativity inherent in this pottery technique. You’ve seen the detailed process. Let’s now look at two ideas you can try with slabs.
Planter Built on a Slab
Creating a planter built on a slab involves rolling out a flat sheet of clay to the desired thickness and cutting out pieces for the sides, bottom, and any decorative elements. These pieces are then assembled by scoring and slipping the edges together, ensuring strong bonds between the clay.
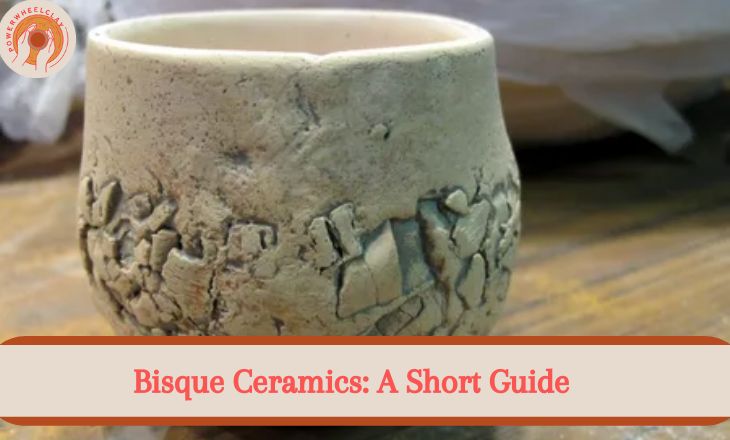
Once assembled, the planter is allowed to dry slowly to the leather-hard stage before refining the surface and making final adjustments. After drying completely, the planter undergoes a bisque firing to remove moisture and prepare it for glazing, if desired. Glazing is followed by a final firing to achieve the desired finish. Once cooled, the planter is inspected for defects and any final touches are made before it’s ready for use or display.

A Butter Dish Made of Slabs
Creating a butter dish made of slabs involves rolling out clay into flat sheets of uniform thickness, and then cutting out individual pieces for the base, lid, and handle. These pieces are assembled by scoring and slipping the edges together, ensuring secure joints. Texture or decorative elements may be added before the dish is allowed to dry slowly to the leather-hard stage. Once dried, the surface is refined, and any necessary adjustments are made.
The dish undergoes a bisque firing to remove moisture and prepare it for glazing. After glazing, a final firing is conducted to achieve the desired finish. Following cooling, the butter dish is inspected for defects, and final touches, such as smoothing rough edges, are applied. The completed butter dish is then ready for use, providing both functional utility and aesthetic charm to the table.

Conclusion
Slab construction ceramics involves shaping clay into flat, uniform sheets, allowing artisans to create intricate designs and structures with precision and creativity. Slab building is a novel and approachable method of creating pottery that both beginners and seasoned artists can find enjoyable. It’s a great option for people who want to experiment with ceramics without having to invest in specialist tools.
Slab pottery offers a versatile approach to ceramic artistry, where clay is rolled out into flat sheets and then cut, manipulated, and assembled into various forms. Wheel-thrown pottery often yields symmetrical shapes, while slab pottery allows for more organic and asymmetrical designs, lending each piece a unique character.
FAQs
What are the Techniques of Pottery Forming?
Pottery forming techniques encompass pinching, coiling, and slab building. Mastering these methods enables the creation of diverse clay objects. Beginning with pinching, advancing to coiling, and eventually embracing slab construction facilitates progressive skill development in hand-building.
What are the Materials Used in the Slab Technique?
The materials commonly used in the slab technique include clay, a rolling pin or slab roller for flattening the clay into sheets, various tools for cutting and shaping such as knives or cookie cutters, and potentially molds or templates for achieving consistent shapes and dimensions. Water and scoring tools may be used to facilitate joining and assembling the slab pieces.
What is a Slab Mat in Pottery?
A slab mat in pottery is a flexible, non-stick surface typically made of silicone or canvas, used to roll out clay into flat sheets for slab building. It provides a smooth surface for working with clay, prevents sticking, and allows for easy transfer of slabs without distorting their shape.


